
I’ve got a new tutorial to share – Quilted Bookmarks!
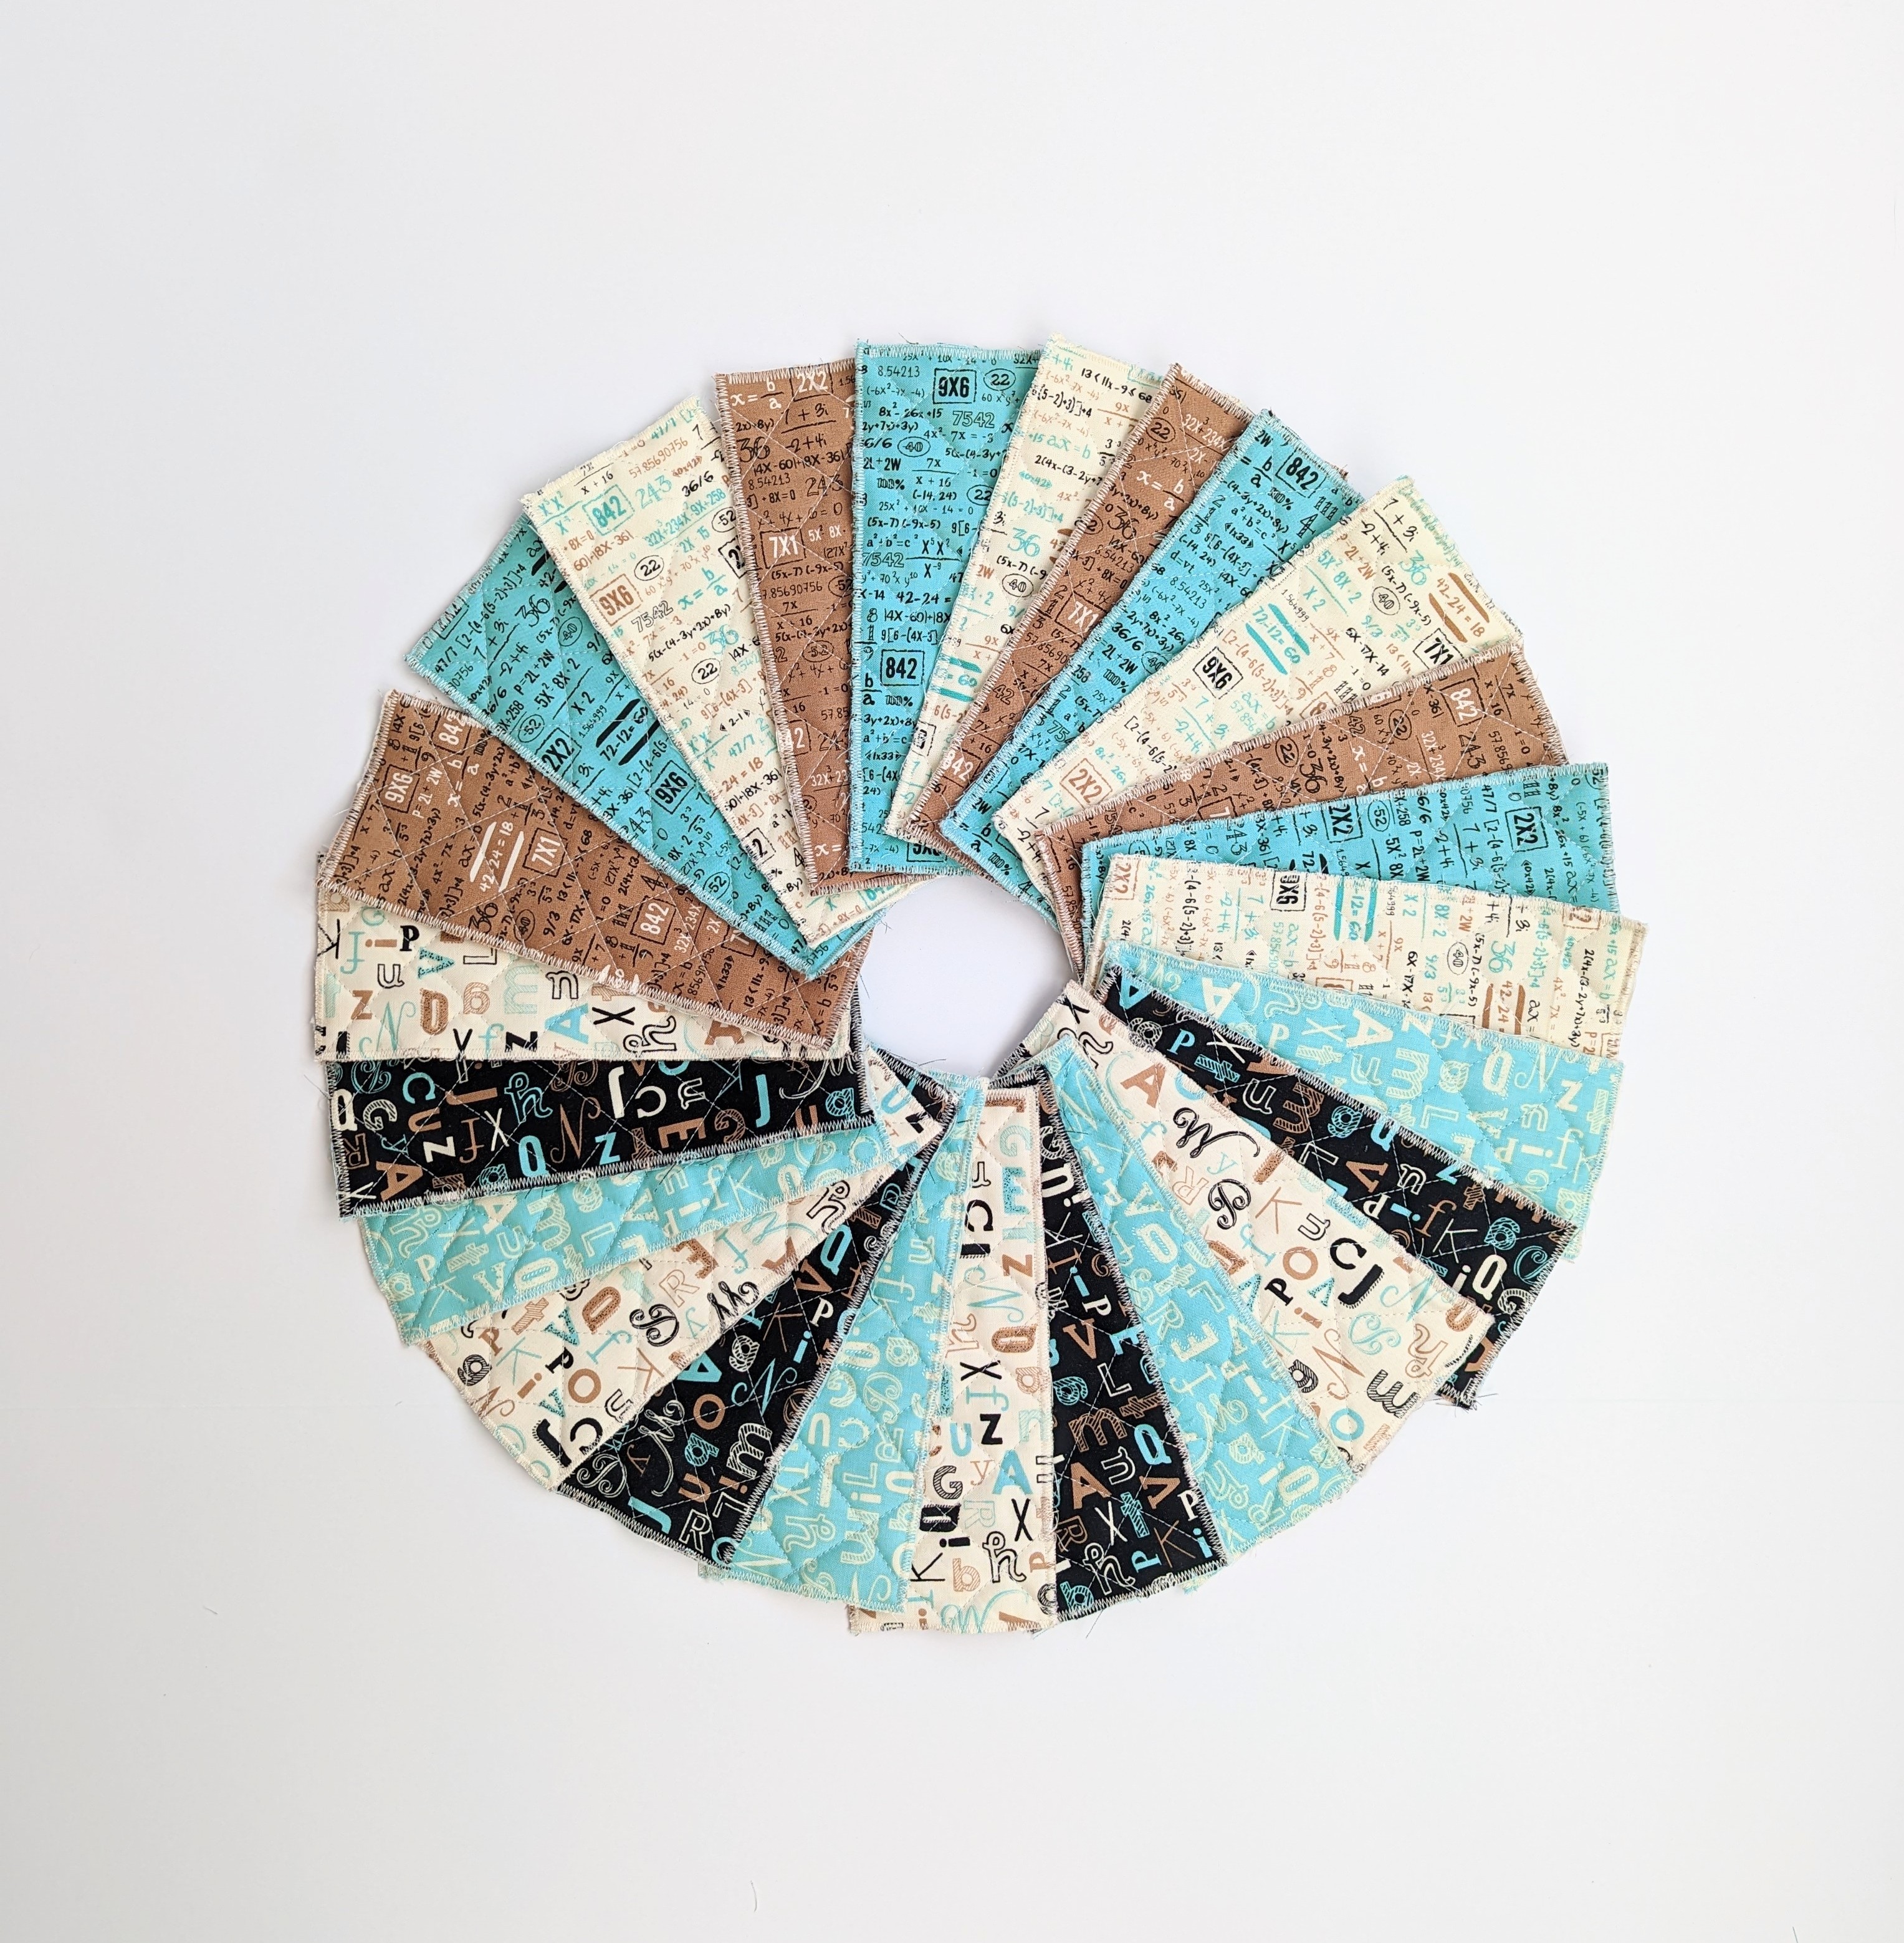
I recently shared a story on Instagram about a last minute decision to make quilted bookmarks for my daughter’s class as I was the scheduled Mystery Reader for the next day. You can see the set I made for the class in the image above. I’ve been making quilted bookmarks for my daughter for years. She loves them because they’re flexible and don’t permanently crease or break like paper bookmarks and don’t fall out as easy as heavier metal bookmarks. And since they are two layers and batting, they’re squishy and fun to hold!
Quilted bookmarks make great gifts for kids or for adults who still read physical copies of books. If you’re looking for a creative stocking stuffer or gift to give any time of the year, a quilted bookmark is a fun and fast project! It's also a great scrap-busting project, as well as a good opportunity to practice quilting!
Everything about a quilted bookmark can be customized to your needs. This is the general process I follow to make quilted bookmarks.
This is a tutorial for making (1) quilted bookmark that finishes approximately as a 3” x 7.5” rectangle.
Supplies Needed
- (2) 3” x 7.5” cotton fabric rectangles
- (1) 3” x 7.5” batting
- Marking Tool
- Rotary Cutter
- Cutting Mat
- Ruler
- Sewing Machine + Thread
Prepare Fabric Rectangles
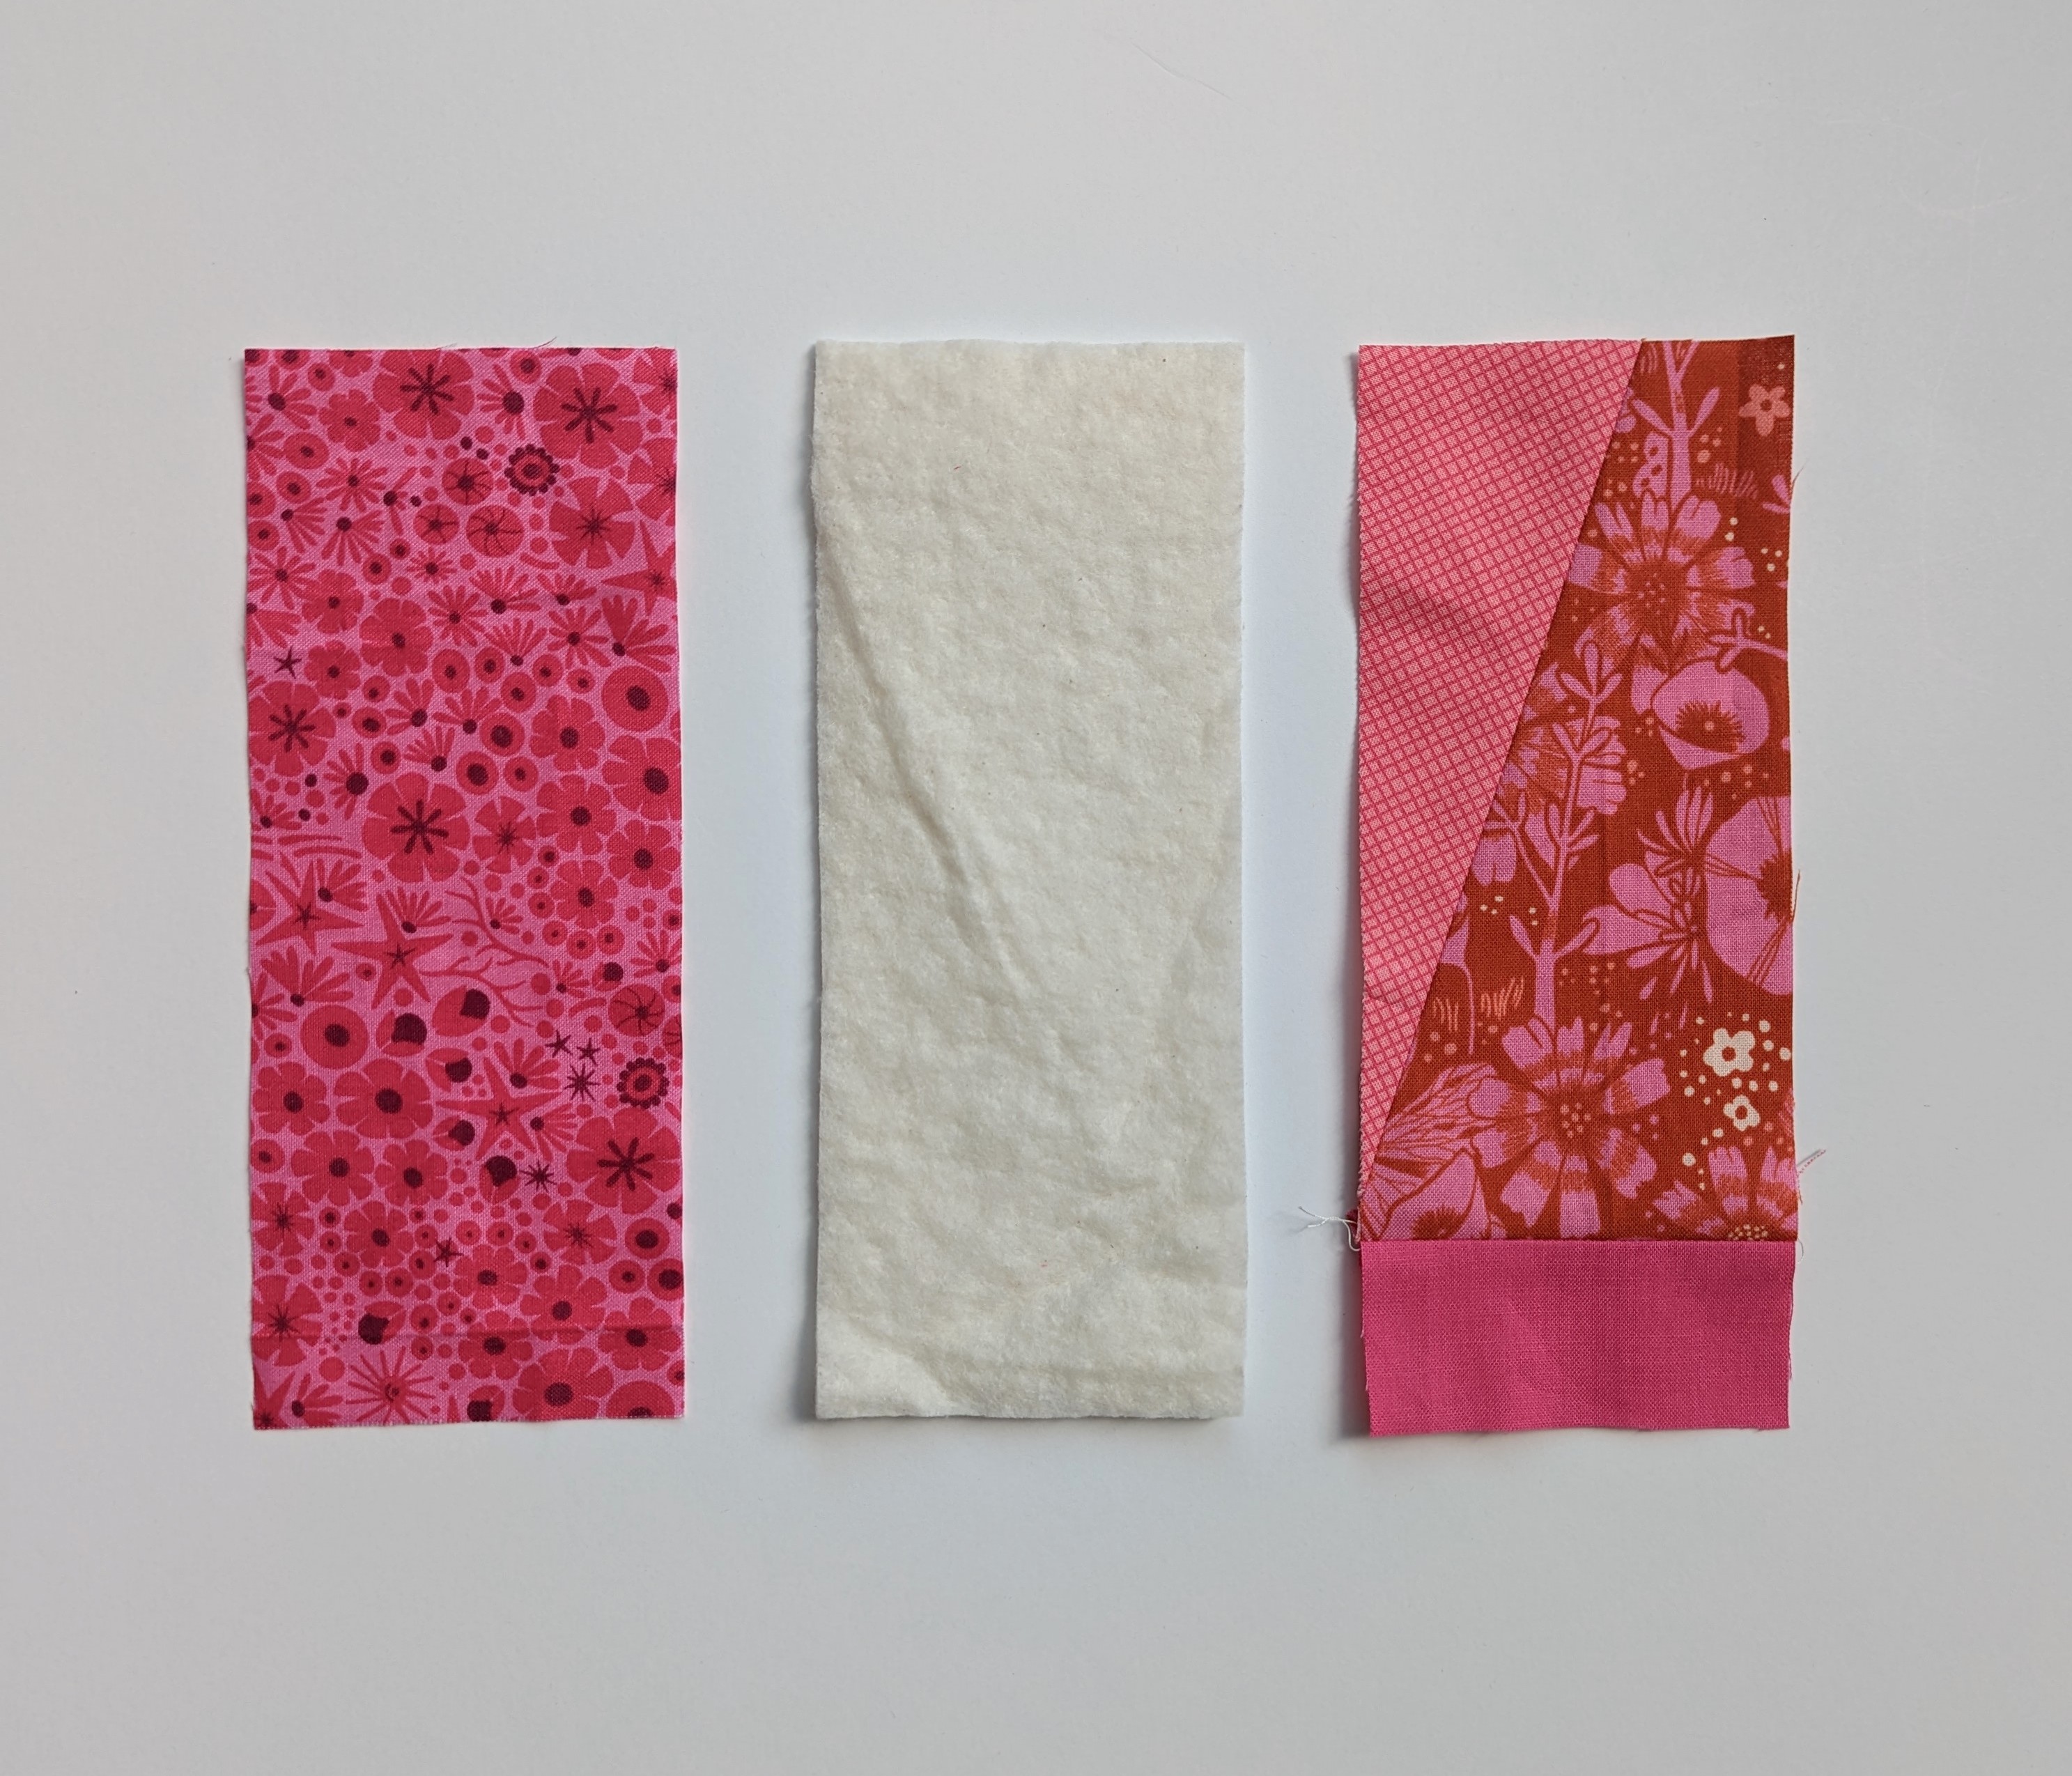
1. Trim or piece scraps to make (2) 3” x 7.5” rectangles. Some options include fussy cutting a piece of fabric to align to a genre of books the intended receiver enjoys reading, improv piecing tiny scraps you’ve saved, or piecing tiny themes like small flying geese. Like a quilt, there are two sides to the quilted bookmark, so mix and match the style or types of rectangles as you like.
Quilt
1. The next step is to make the quilt sandwich. Lay one rectangle right side down, add the batting, then lay the remaining rectangle right side up.
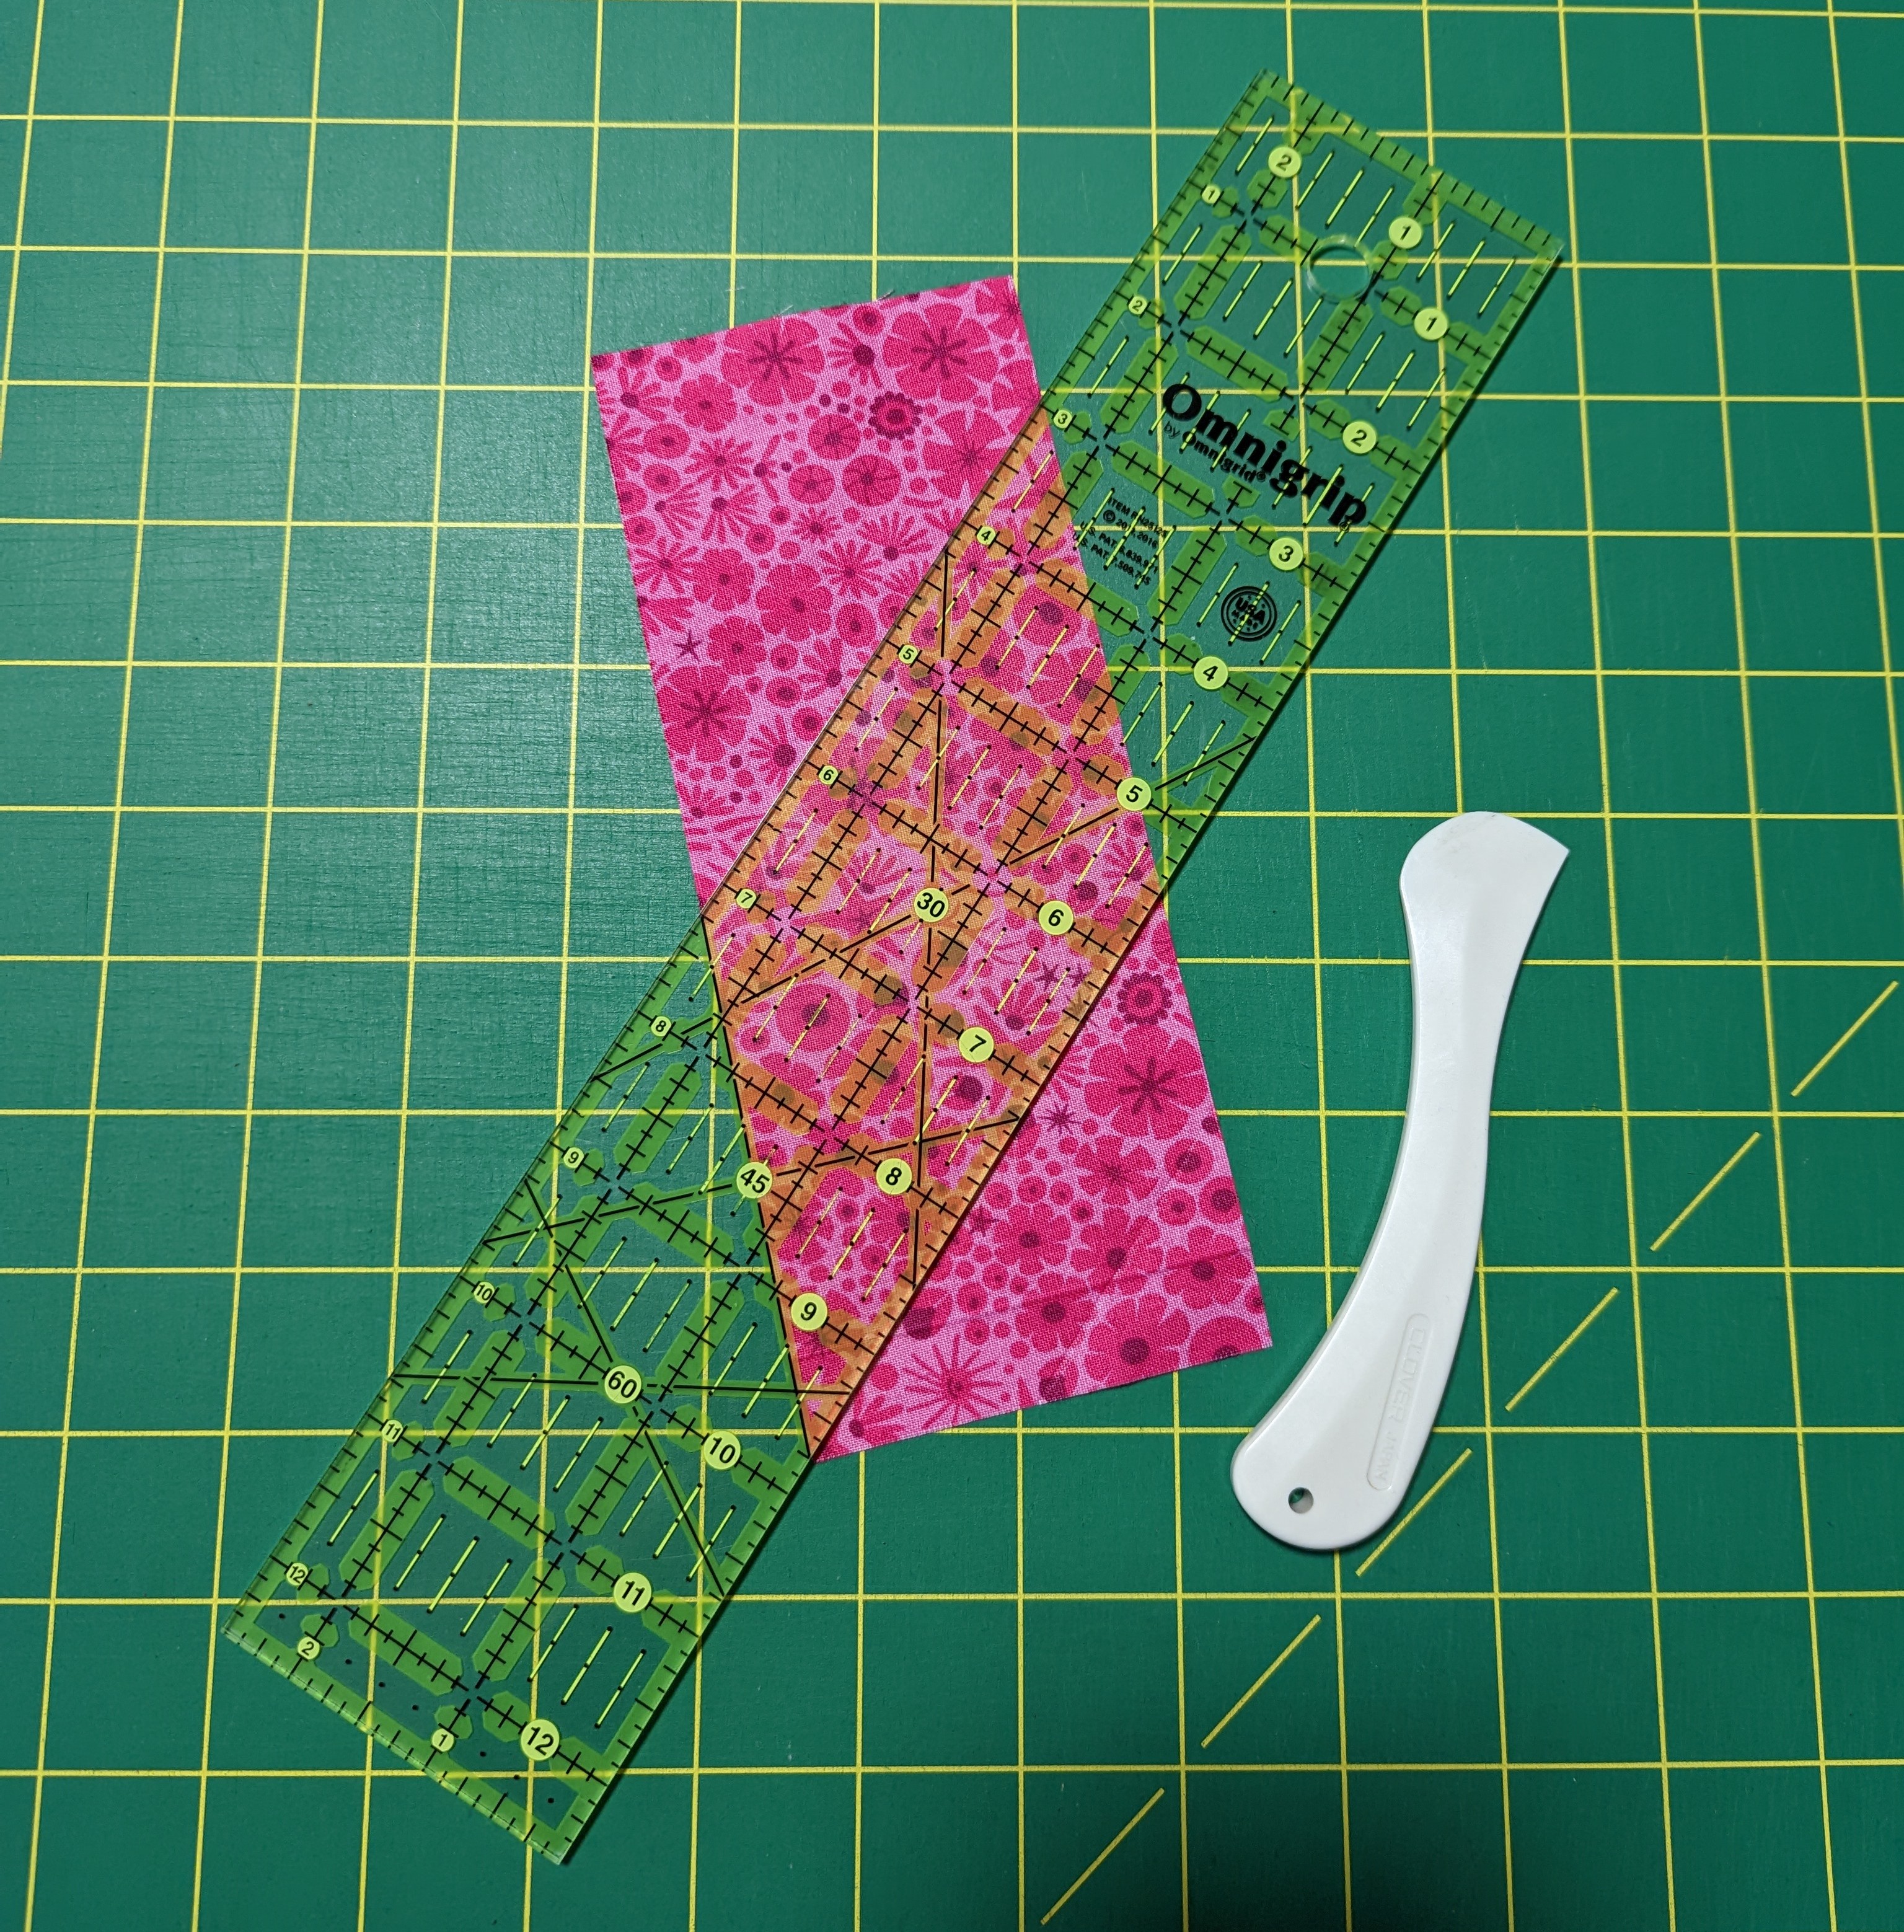
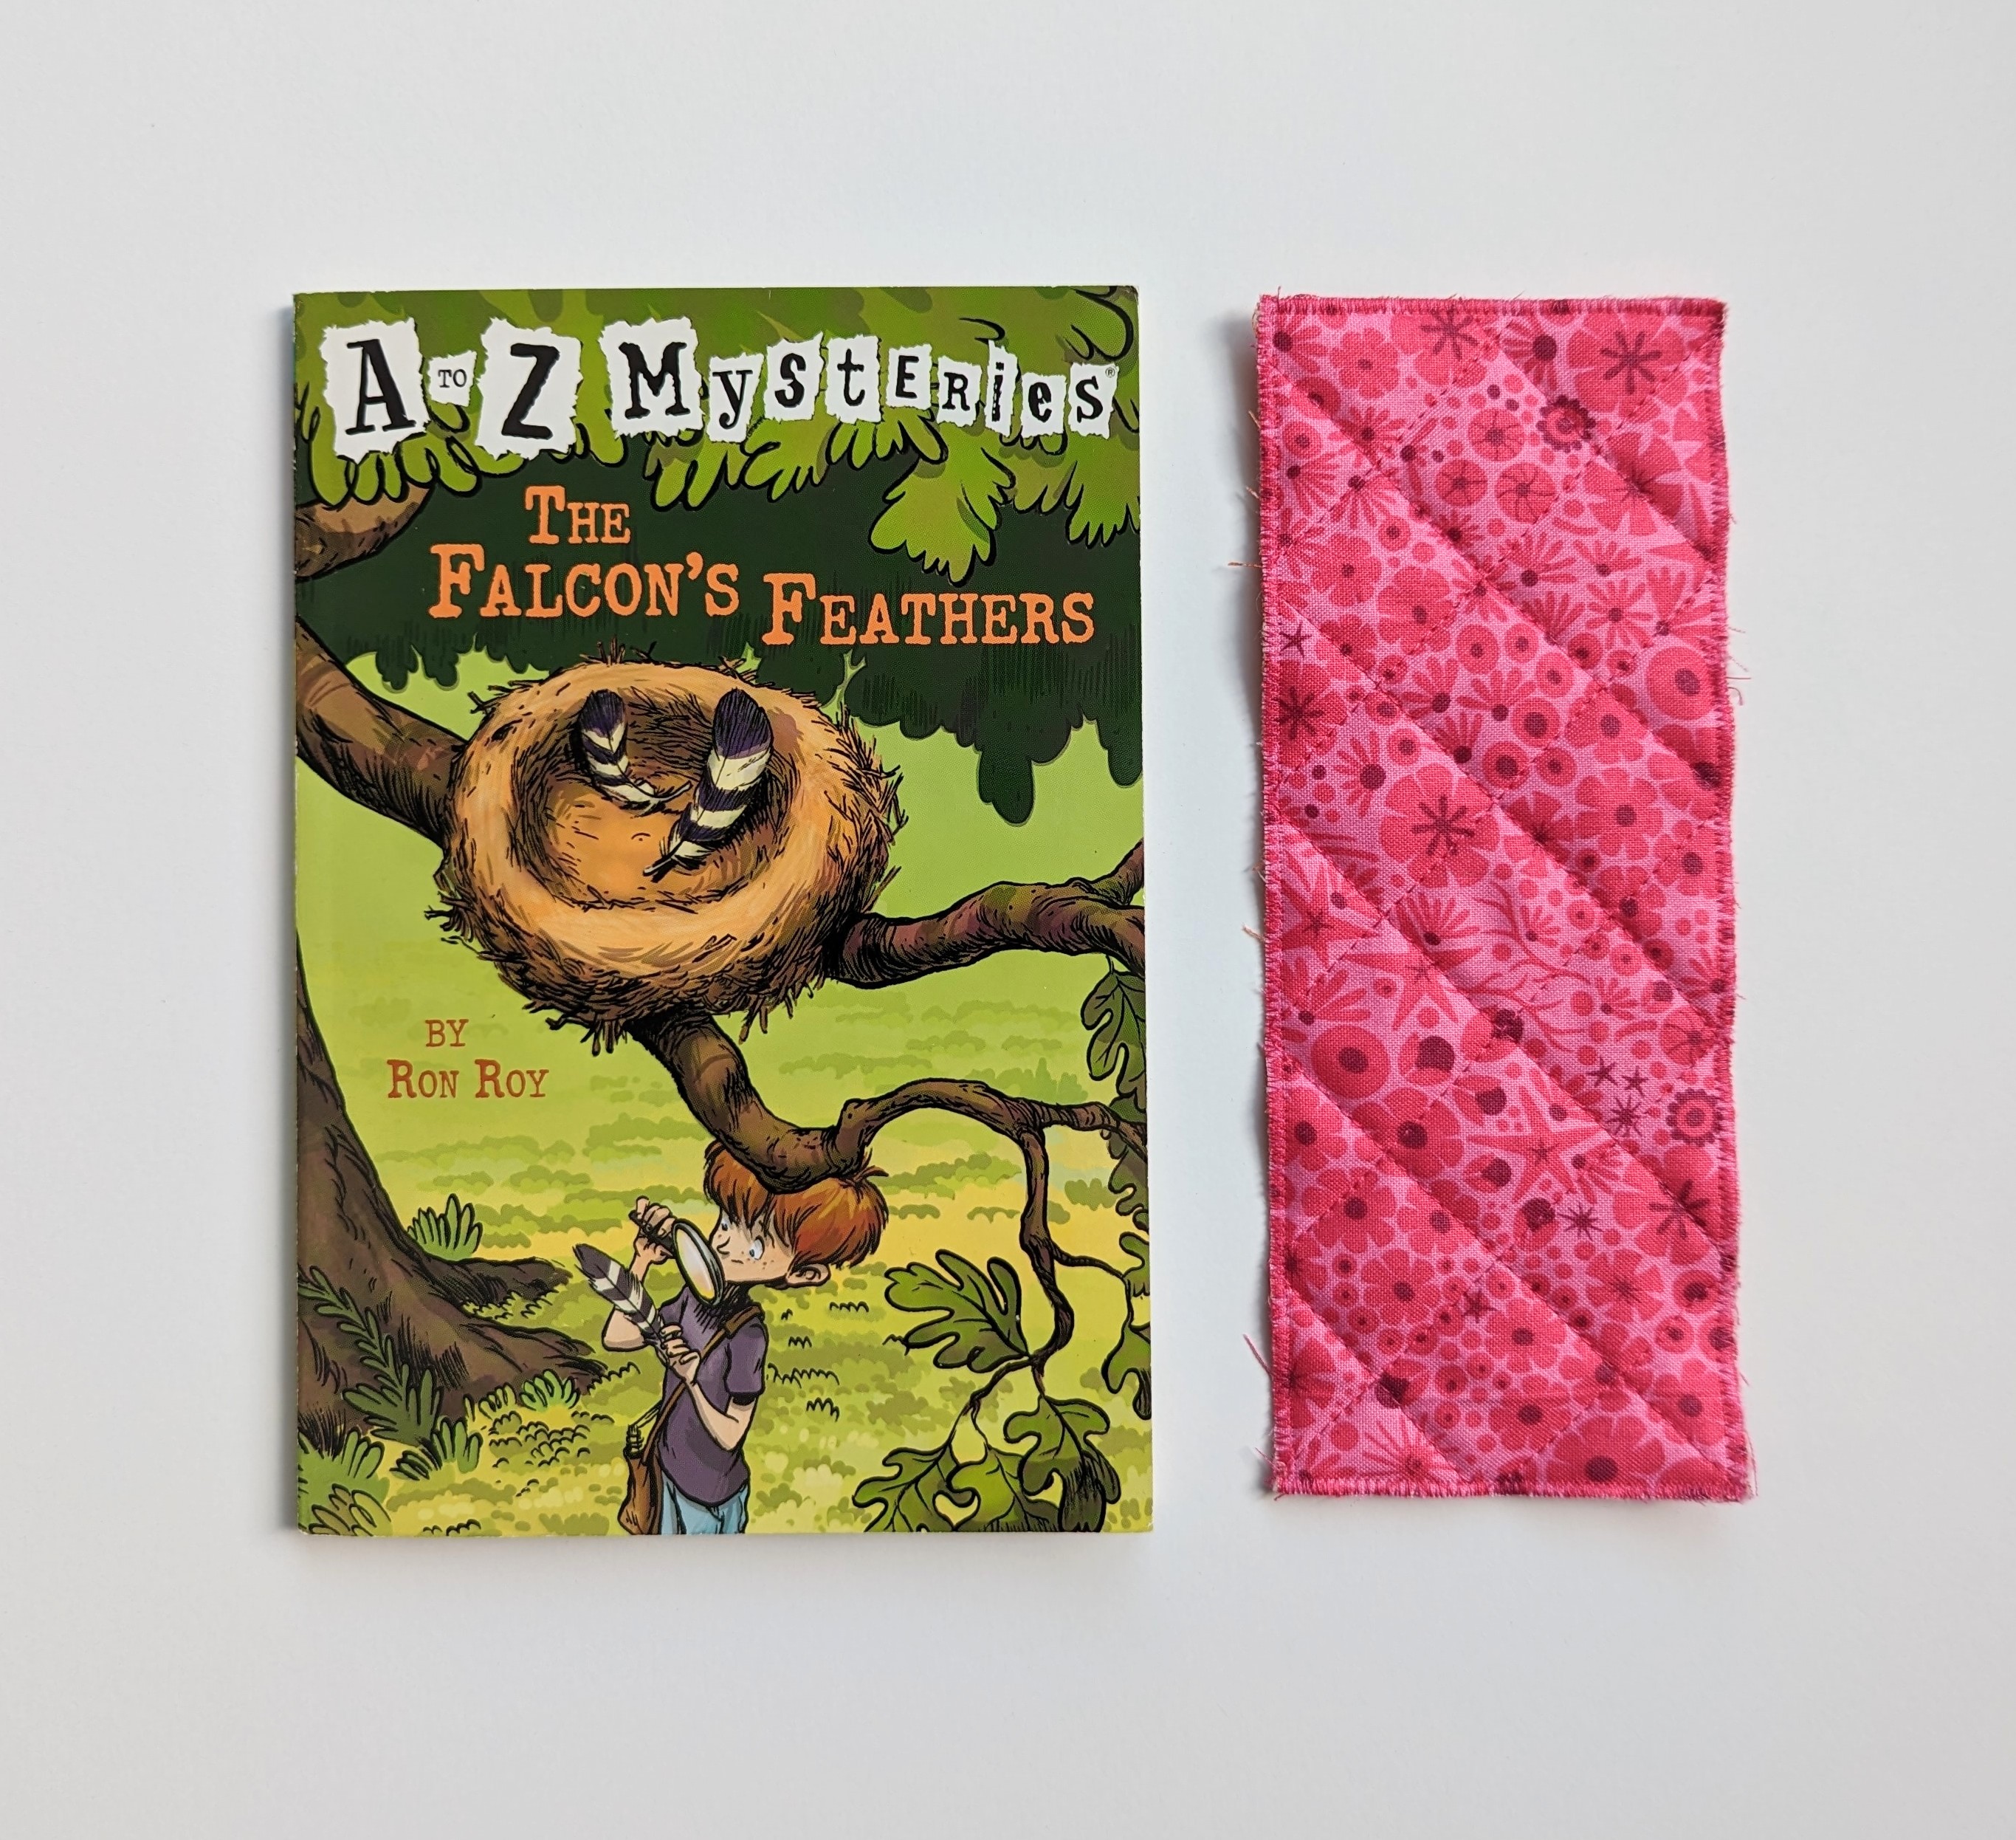
2. You can pre-mark your fabric with your quilting motif or free-motion quilt. Since this is a small project, it’s a great time to try something new or practice quilting! I choose to pre-mark my fabric using a hera marker. I use my ruler to find the 45 degree angle to mark a cross hatch or grid design on my bookmark. I space my lines 1” apart.
3. Quilt!

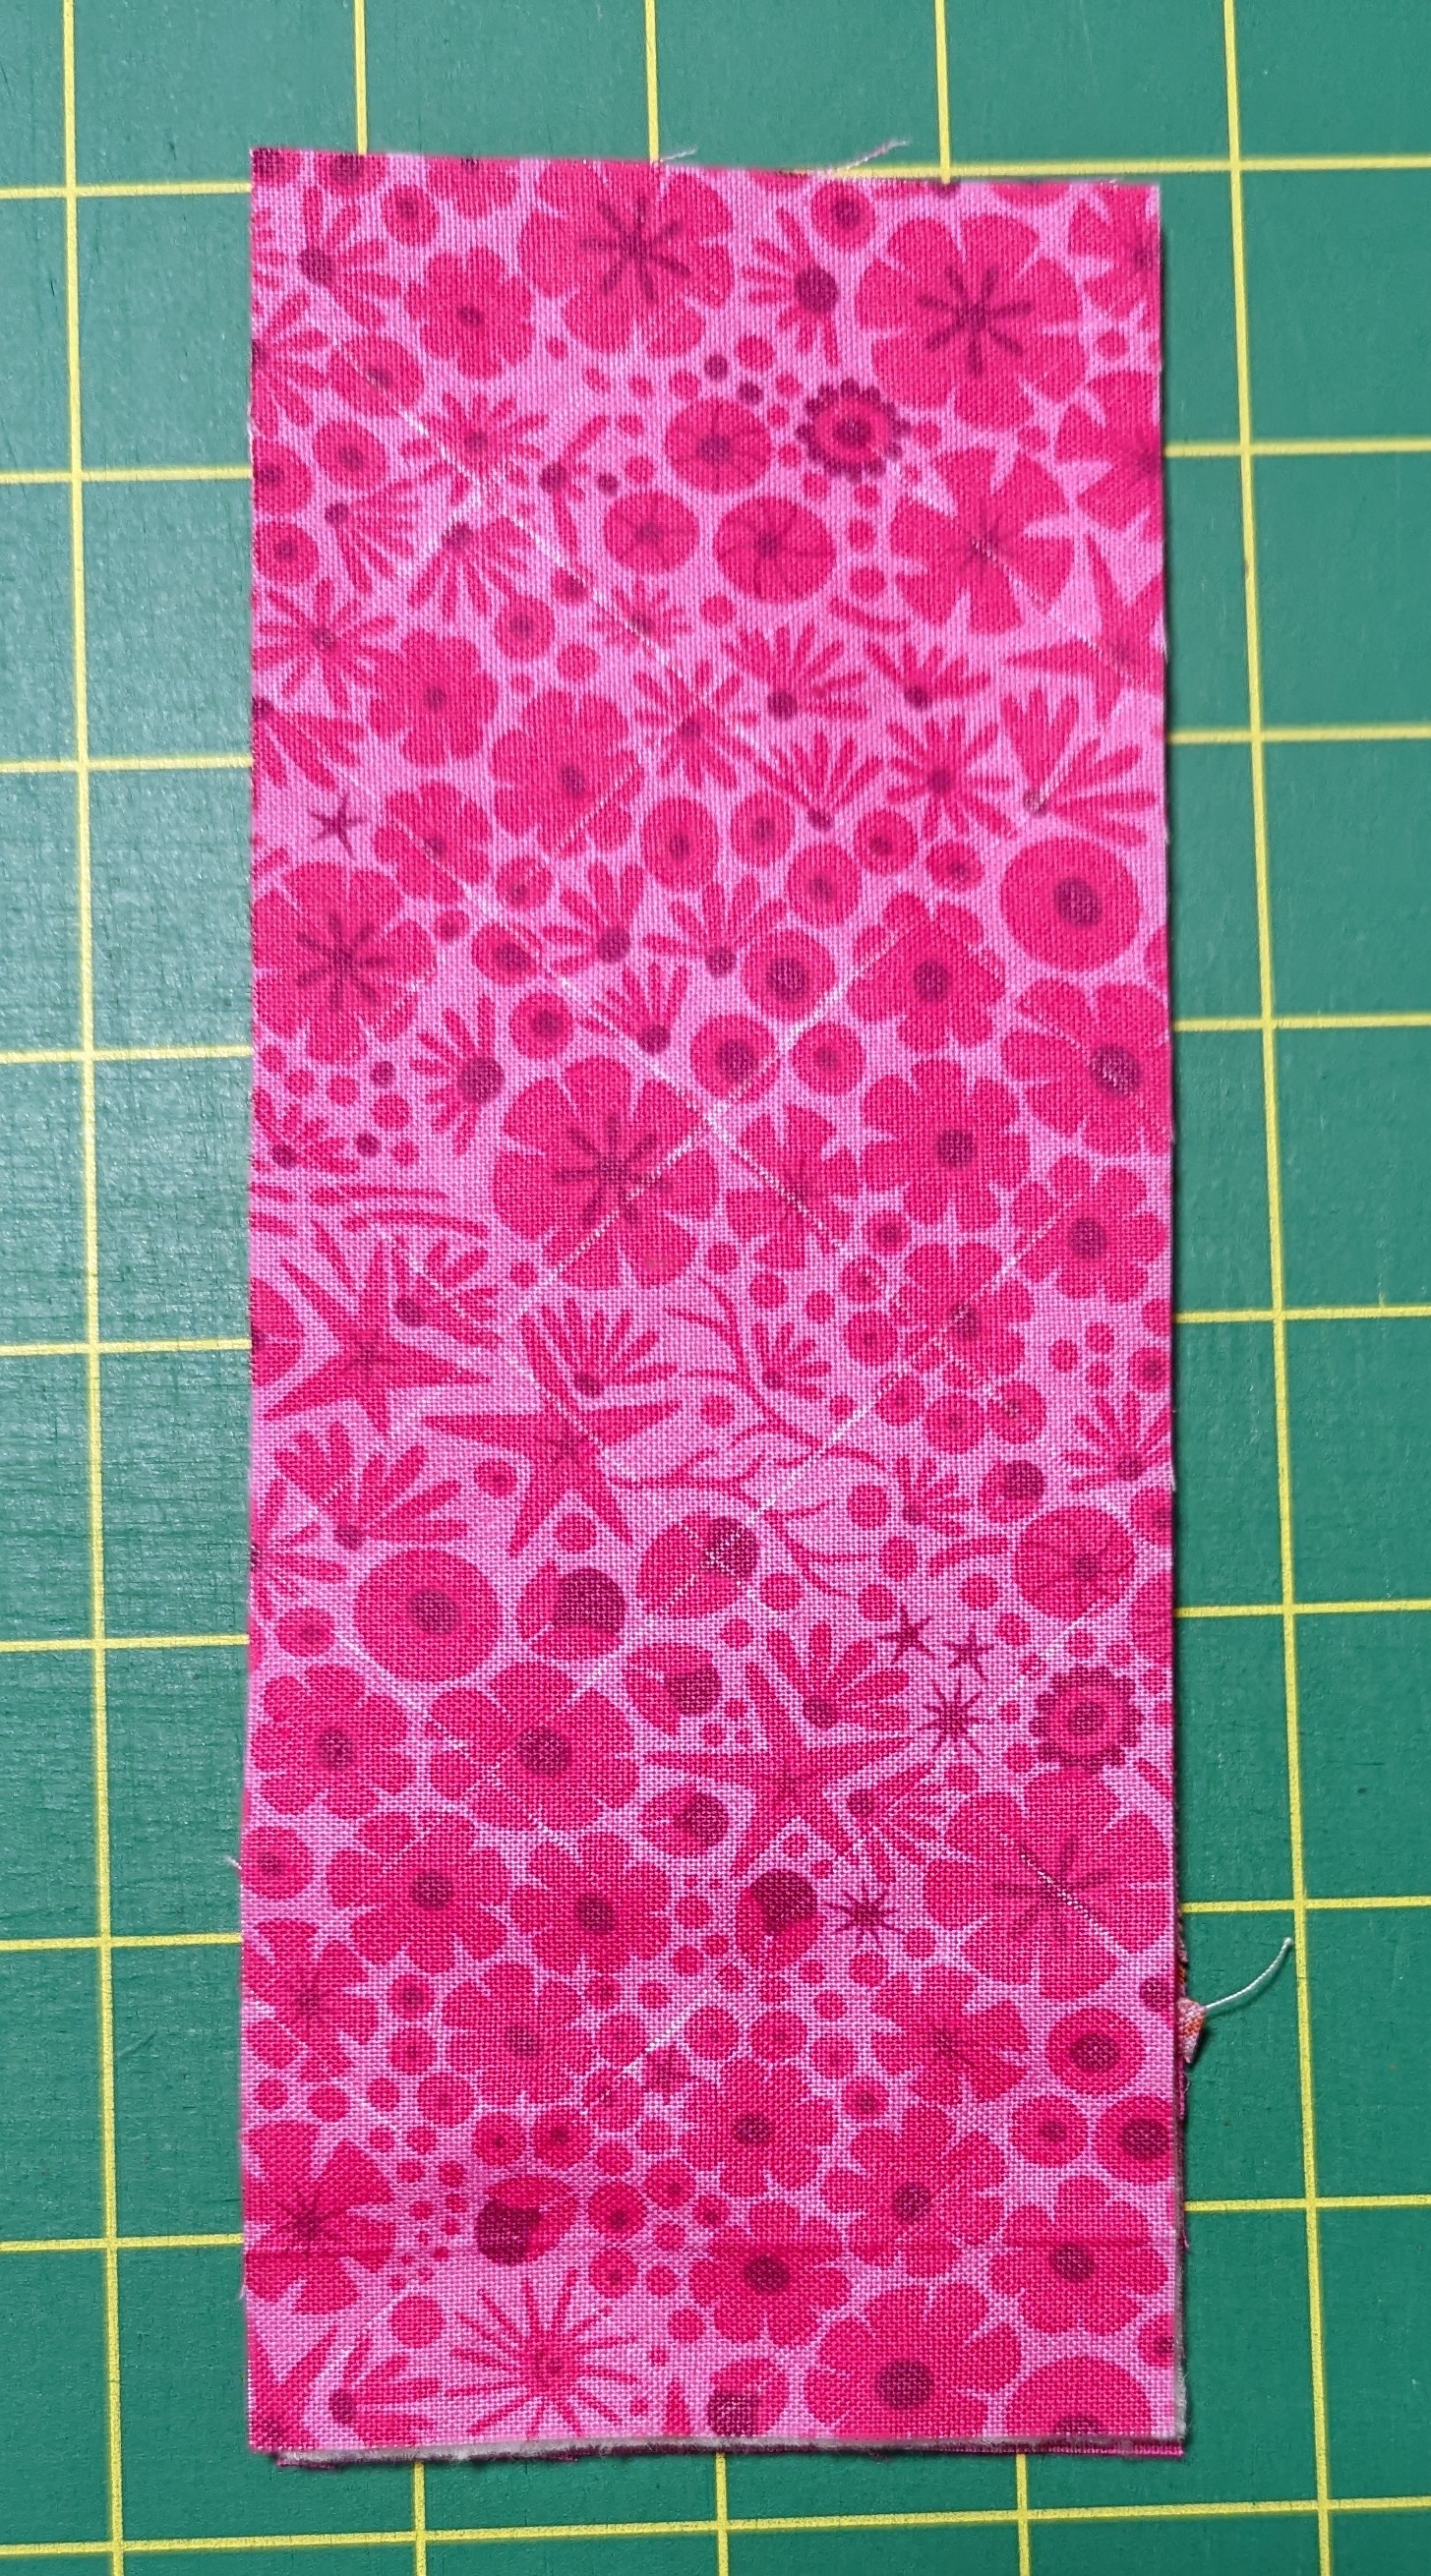
4. Trim carefully around the edges in any area where the batting is peeking out or if one of the layers shifted. As you can see in the photo below, I trimmed a very small amount from each side.

Finish the Edge
1. I prefer to zig-zag stitch around the edge of the bookmark. I do this with my domestic machine, but you can also use a serger. Alternatively, you can choose to bind the edge of the bookmark.
2. I sew on a Janome sewing machine and select the zig zag stitch. I leave the stitch width at 3, but decrease the length to .90. There is a ton of flexibility in setting the width or length wherever you like – some may like a more dense finish so that there won’t be any loose threads; some may prefer less dense so that the bookmark lays flatter and is a bit lighter weight. With the bookmarks I’ve made, there’s always a few frayed stray threads and I, nor the recipient, mind at all. Make sure to backstitch at the beginning and end.

Use & Enjoy!
1. Now that you’ve finished the quilted bookmark, give it a try by placing it in your book! Similar to the potato chip brand that claims you can never have just one – I don’t think you can have just one quilted bookmark when there are so many fun options available!

Comments
Post a Comment