
The Ohio Star quilt block is a dynamic versatile traditional block that can be made with two, three or more colors.
This is a tutorial for making (1) 2-color Ohio Star block that finishes at 10” square.

Notes
- Use a 1/4" seam allowance unless otherwise noted.
- Scant 1/4" means about one stitch length narrower than a ¼” seam.
Supplies Needed
- (2) 5” Background Squares
- (4) 4” Background Squares
- (2) 5” Main Fabric Squares
- (1) 4” Main Fabric Square
- Marking Tool
- Rotary Cutter
- Cutting Mat
- Ruler
- Sewing Machine + Thread

Make HSTs (half-square triangles)
1. Gather (1) 5” Background Square + (1) 5” Main Fabric Square.
2. On the wrong side of one the squares, draw a line on the diagonal from one corner to the other.

3. Place the two squares right sides together (RST). Pin or clip together. Stitch a scant ¼” on each side of the diagonal line.

4. Place unit on a cutting mat and cut on the original line you drew.
5. Press seam to dark side on each unit.
6. Trim each unit to 4.5" square. This yields (2) HST units.

Make QSTs (quarter-square triangles)
1. On the wrong side of one of the HST, draw a line on the diagonal from one corner to the other going across both fabrics.
2. Place the two HSTs RST so that the Background fabrics are opposite of each other.

3. Pin or clip together - the seams will nest together. Stitch a scant ¼” on each side of the diagonal line.


4. Place unit on a cutting mat and cut on the original line you drew.
5. Press seams to one side on each unit.
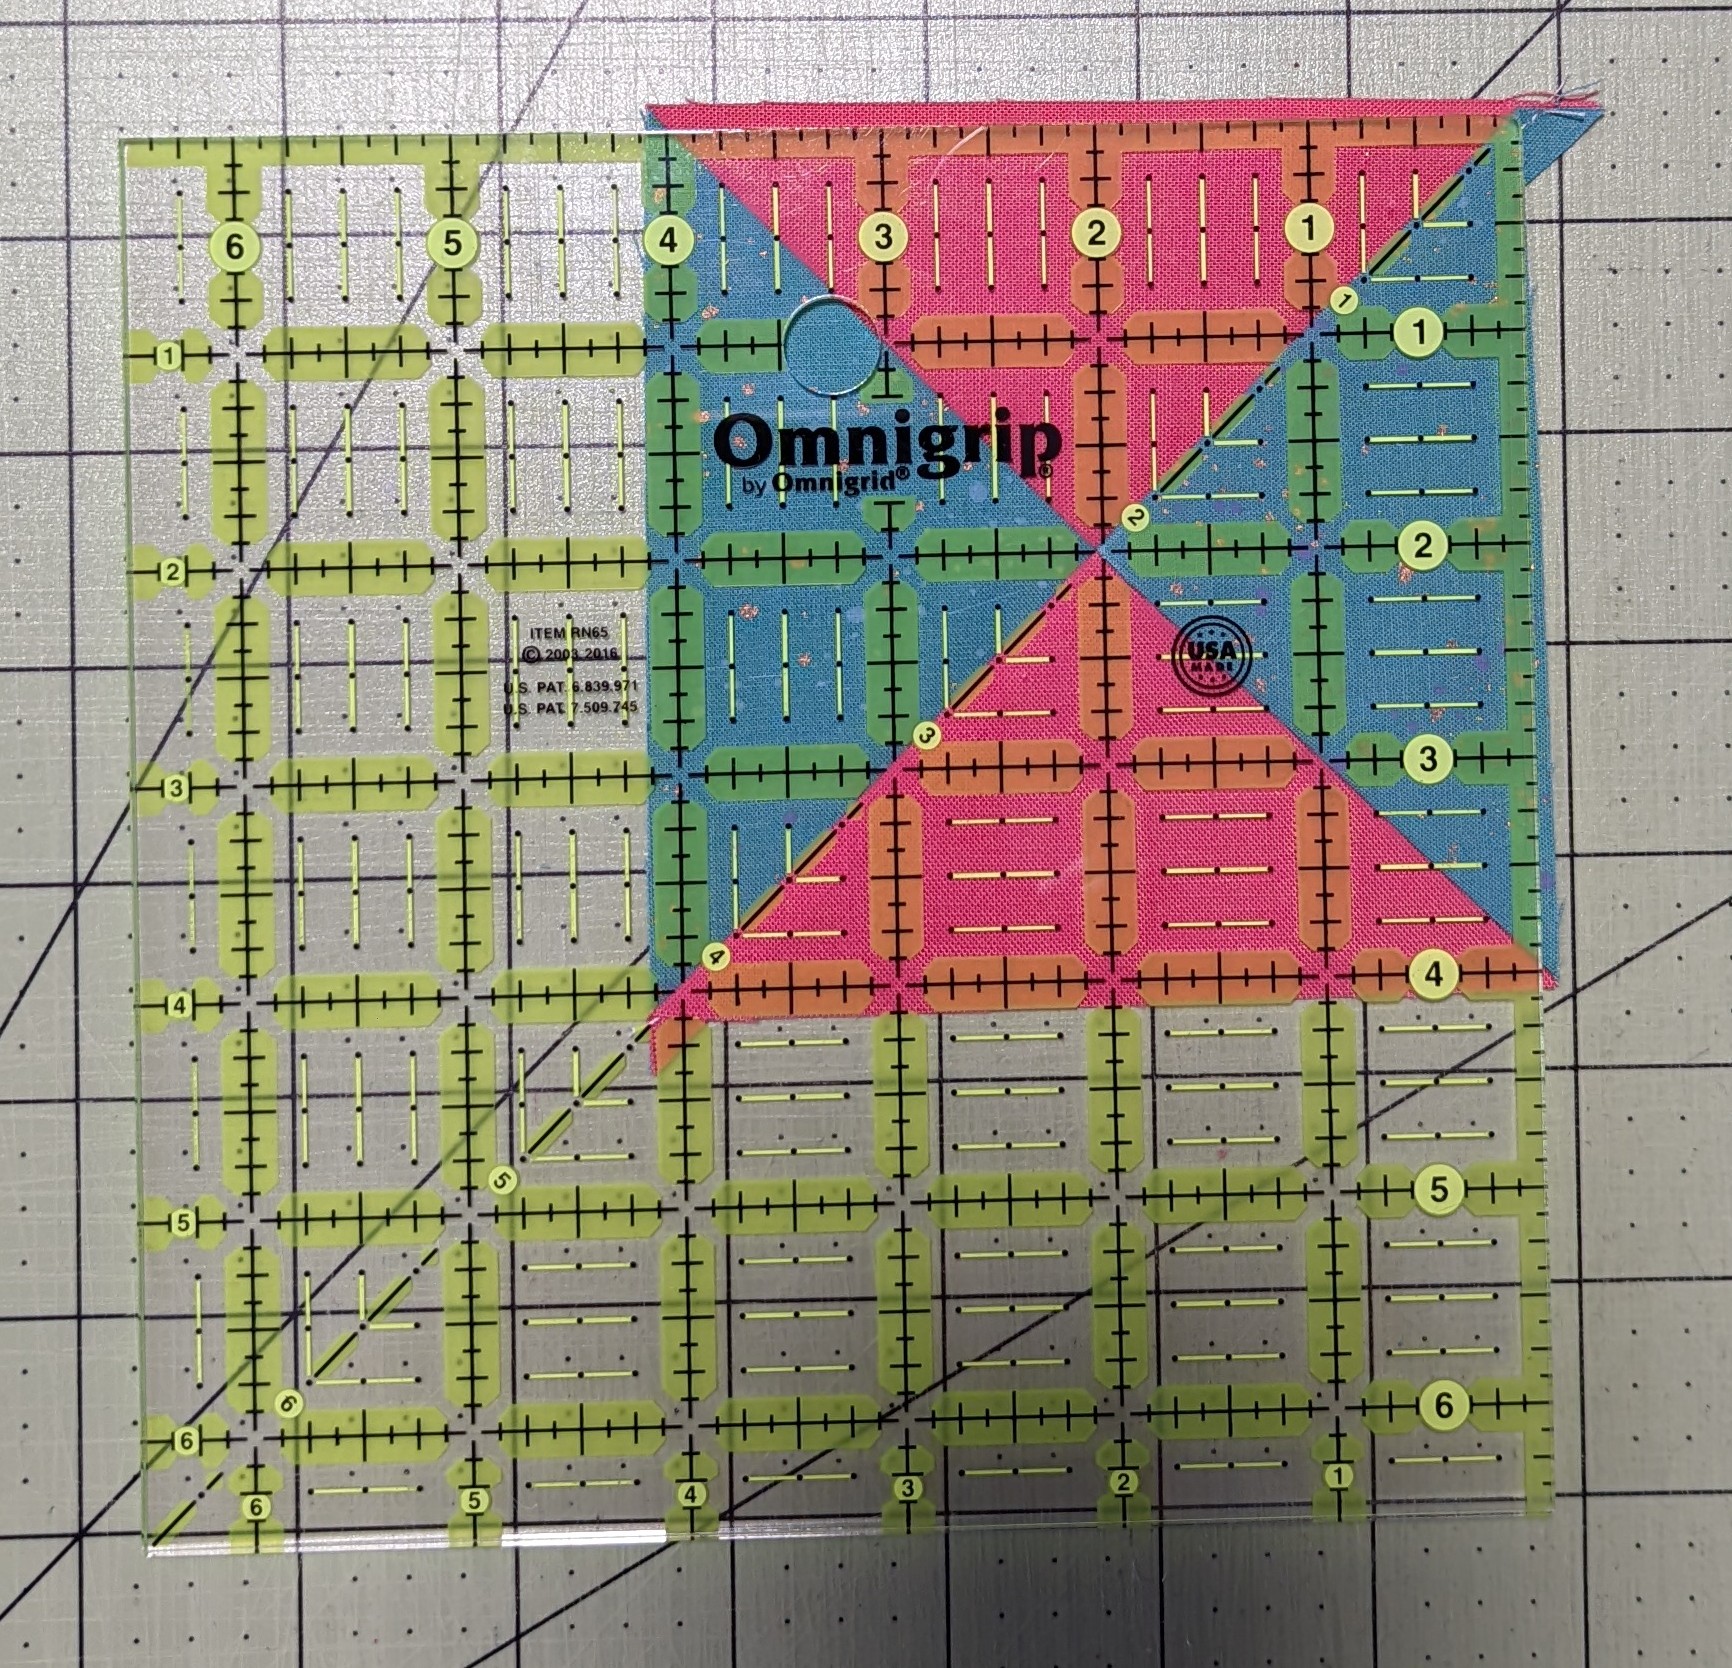
6. Trim each unit to 4" square. Make sure that when you go to trim the first side, that you line up the 4" marks where the two fabrics meet. This will ensure a square unit. Turn unit to remaining sides to trim down to 4" square.
7. This yields (2) QSTs.

8. Repeat the steps under Make HSTs and Make QSTs one more time with the remaining 5” squares. This will yield 4 QSTs total.
Make Ohio Star Block
1. Layout the following units in a 3 x 3 grid.
Row 1 - (1) 4” Background square, (1) 4” QST (with background facing up and down), (1) 4” Background square
Row 2 - (1) 4” QST (with background facing left and right), (1) 4” Main Fabric square, (1) 4” QST (with background facing left and right)
Row 3 - (1) 4” Background square, (1) 4” QST (with background facing up and down), (1) 4” Background square

2. Sew the units from Row 1 together. Press seams the right.
3. Sew the units from Row 2 together. Press seams to the left.
4. Sew the units from Row 3 together. Press seams to the right.
5. Turn Row 1 onto Row 2 with RST and nest the seams together. Sew. Press seams open.
6. Turn Row 1/2 unit onto Row 3 with RST and nest the seams together. Sew. Press seams open.
7. If needed, trim Ohio Star block to 10.5” square.

Enjoy making Ohio Star blocks!
Comments
Post a Comment